A methodical, step-by-step approach is the key to a successful garage door replacement in Palm Beach, Florida. Coastal weather conditions, local code requirements, and the need for accurate measurements make it crucial to follow a detailed plan for selection, permitting, and installation. Many homeowners begin their planning phase by reviewing professional offerings to get a sense of recommended practices and available products. For example, listening to installation experts and considering professional garage door replacement services can clarify necessary steps and typical timelines.
This article walks through the replacement process in practical steps, covering pre-installation planning, removal of the old door, structural assessments, installation of new hardware and panels, and post-installation testing. Whether you’re coordinating a full-service contractor or completing some DIY tasks, this guide outlines the sequence and checkpoints to ensure a safe, compliant, and attractive result.
Step 1: Initial Evaluation and Measurements
Begin with a thorough evaluation of the existing door and surrounding structure. Measure the width and height of the opening, note the available backroom depth, and record sideroom and header clearance. Take photos of the interior framing and exterior trim to document conditions. Look for signs of water damage, rot, or prior repairs that could influence installation. Accurate measurements and a clear understanding of the framing save time and prevent ordering errors.
Step 2: Confirm Code and Permit Requirements
Determine if your replacement requires a permit by checking with Palm Beach County or the local municipality. Projects involving framing changes, header modifications, or wind-rated assemblies commonly need permits and inspections. If your home is within an HOA, confirm design guidelines which may include color, style, and window requirements. Addressing these administrative steps early prevents delays once materials arrive.
Step 3: Select Door Type and Features
Choose the material and style that best fit your needs. Options include steel with various insulation levels, aluminum, composite materials that mimic wood, and real wood for a classic aesthetic. Consider window placement and glazing options to balance natural light and privacy. Select hardware finishes and any decorative elements that will complement your home’s exterior. Be mindful of performance specifications such as R-value for insulation and wind-load ratings for storm protection.
Step 4: Order Materials and Schedule Installation
After finalizing selections and obtaining any required approvals, order the door and components. Coordinate delivery with the installer’s schedule and the anticipated permit approval date. Custom finishes or specialty glazing can add lead time, so plan accordingly to avoid storage and scheduling complications. Confirm delivery details and staging areas with your installer to ensure space is available at the job site.
Step 5: Site Preparation
Prepare the garage by removing vehicles, stored items, and any wall-mounted objects that could be damaged during removal and installation. Cover interior floors and valuables if there is a risk of debris. Make sure there is clear access to the electrical panel or outlets if the opener requires power, and arrange parking for installation vehicles and material staging.
Step 6: Removal of the Old Door
Professional crews or experienced DIYers will dismantle the old door carefully. This includes disconnecting the opener, removing springs and cables, and dismantling panels and tracks. Torsion springs should only be handled by trained technicians due to the risk from stored tension. Inspect the exposed frame for hidden damage once the old door is removed.
Step 7: Repair or Reinforce Framing
If the inspection reveals rot, water damage, or inadequate headers, the frame should be repaired or reinforced before the new door is installed. Proper framing ensures secure anchoring of tracks and spring assemblies and is essential for wind-rated installations. Contractors typically install reinforcement plates or engineered headers where required by the door manufacturer and local codes.
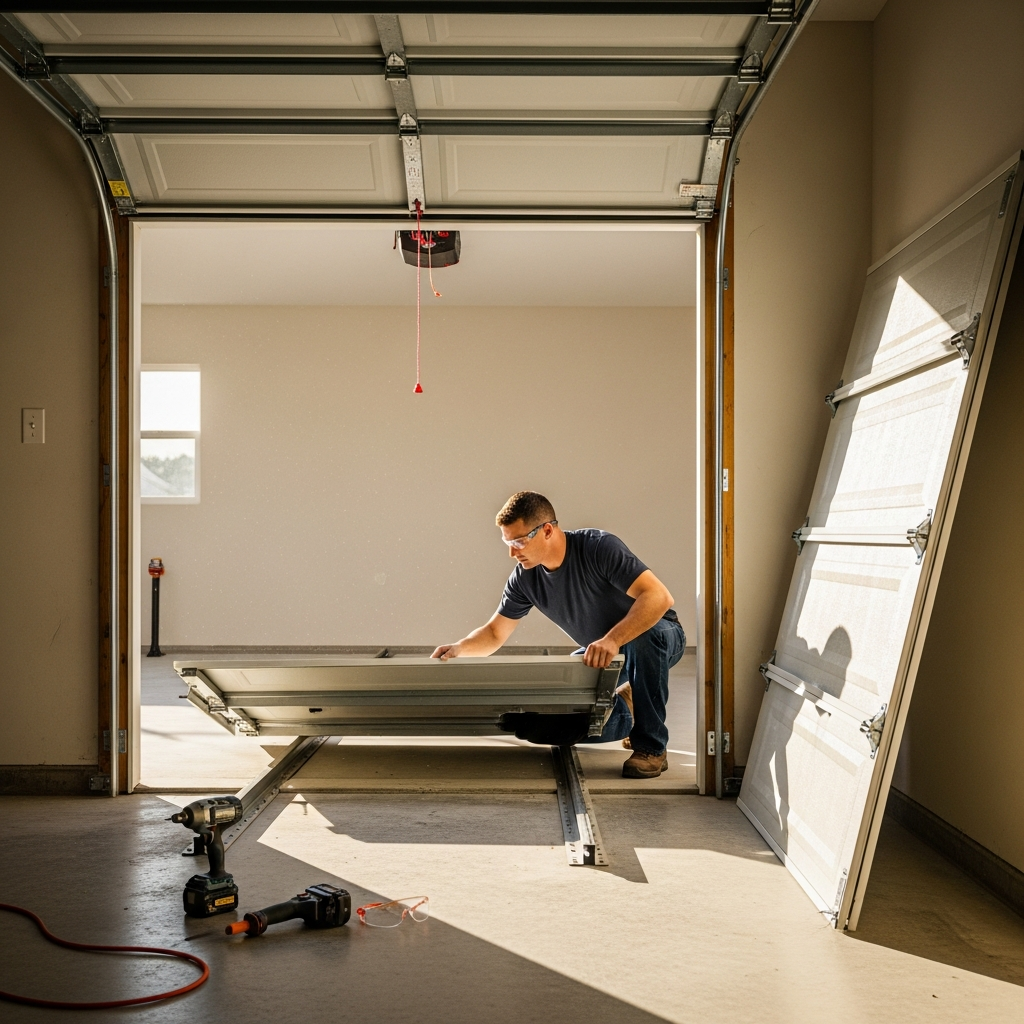
Step 8: Install Tracks, Springs, and Panels
Install the new track system and mount springs according to manufacturer instructions. If using a torsion spring system, ensure spring selection matches door weight and balance requirements. Hang and secure panels sequentially, adjusting rollers and hinges as you go to maintain proper alignment. Check that the door travels smoothly on the tracks and that all fasteners are tight and corrosion-resistant.
Step 9: Mount the Opener and Safety Devices
Install the opener, mount necessary braces, and connect power. Set up safety sensors and test the auto-reverse function. Program remotes and smart control options if included. Verify that the opener’s force settings are within safe limits and that the emergency release operates smoothly. For coastal installations, use corrosion-resistant fasteners and components where exposed to salt air.
Step 10: Final Adjustment and Testing
Balance the door and test it through several full cycles. Adjust spring tension and track alignment to ensure quiet, reliable operation. Confirm that weather seals are in place and that windows and panels align without binding. Demonstrate door operation to the homeowner and provide written documentation of adjustments and maintenance recommendations.
Maintenance and Long-Term Care
Set a maintenance schedule that includes periodic lubrication of moving parts, inspection of springs and cables, and cleaning of tracks to prevent debris buildup. Replace weatherstripping when worn and check for corrosion on fasteners and hardware, especially in coastal environments. Schedule professional inspections at regular intervals to catch potential issues early and to keep warranty coverage valid.
Troubleshooting Common Issues
-
Door won’t stay closed: Check alignment of sensors and inspect the auto-close settings on the opener.
-
Noisy operation: Investigate rollers, hinges, and opener components; upgrading rollers and using a belt-drive opener can reduce noise.
-
Uneven travel: Inspect tracks for bends or obstructions and verify spring balance.
-
Sensor failure: Clean lenses and check wiring for corrosion or loose connections.
Frequently Asked Questions
-
Q: How long does a step-by-step replacement usually take?
A: The active replacement can often be completed in one day when no structural repairs are required. Permit processing and custom door lead times may extend the overall schedule.
-
Q: Are torsion springs dangerous to work with?
A: Yes. Torsion springs store significant energy and must be adjusted or replaced by trained professionals to avoid injury.
-
Q: What should I do to prepare my garage for installation?
A: Clear the garage of vehicles and items, protect interior surfaces, and ensure access to electrical outlets and a clear staging area outside the garage.
A step-by-step mindset reduces surprises and ensures that each phase of the replacement is addressed correctly. Accurate measurement, early permitting, and careful selection of materials and hardware are the foundation of a durable and attractive installation. Choosing an experienced installer familiar with Palm Beach codes and climate will help ensure a smooth process and a long-lasting result.
When you are ready to schedule an evaluation or to discuss options for a full-service replacement, consider working with an experienced team that provides turnkey garage door replacement solutions including permitting, installation, and post-installation support. A professional installer can guide you through each step, from initial measurement to final inspection and homeowner orientation.