Understanding the step-by-step process for garage door replacement helps ensure a smooth and predictable project for homeowners in Palm Beach, Florida. A well-executed replacement minimizes downtime, maximizes safety, and ensures compliance with local codes, particularly in coastal regions with wind and impact considerations. If you’re researching professional support, one place to begin is by comparing local providers and their service offerings, such as garage door replacement services, which often outline their process and what to expect.
This guide walks you through each stage of the replacement process, from initial inspection to final handover. Whether you are replacing a worn out door or upgrading to a higher-performance, impact-rated system, this step-by-step approach clarifies responsibilities, timeline expectations, and key decision points.
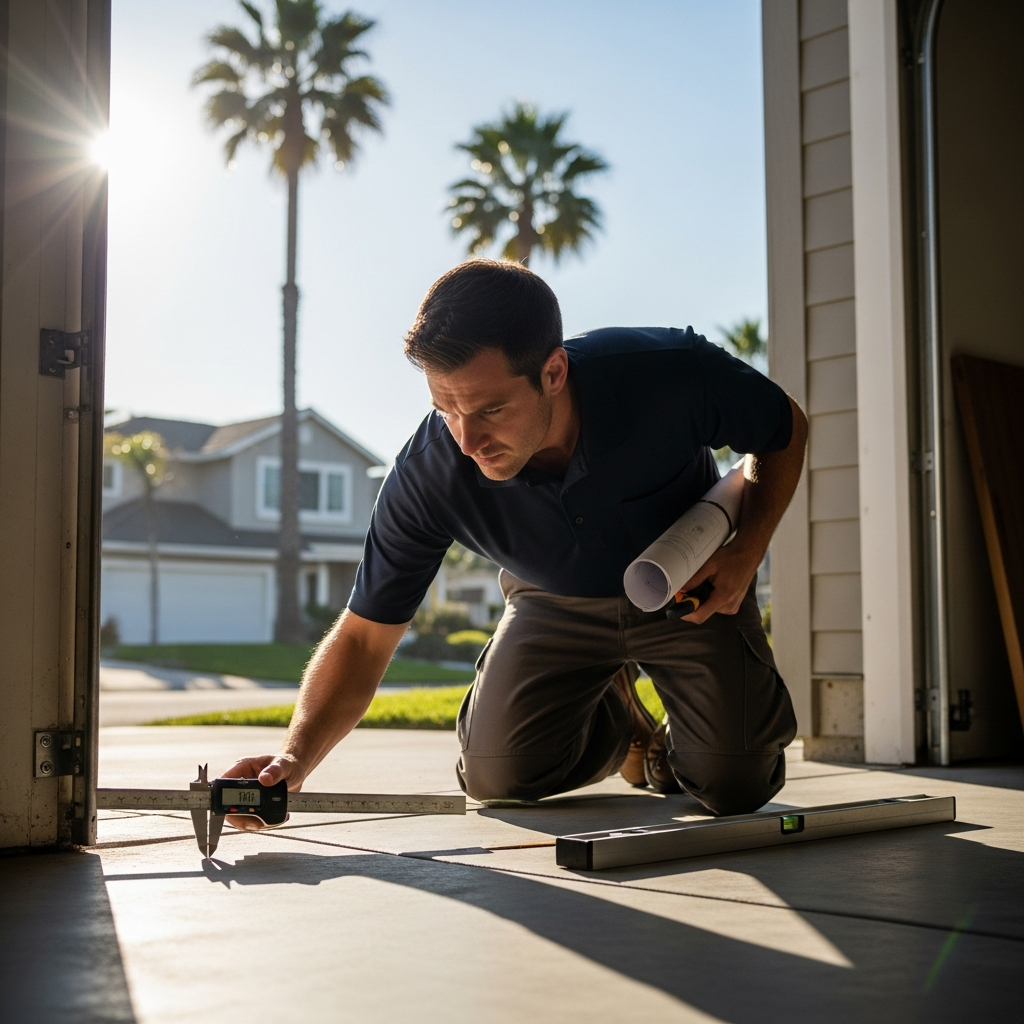
Step 1 — Schedule an Inspection and Measurement
The replacement process begins with a professional assessment. A qualified technician will visit your property to measure the opening, inspect the existing door and hardware, and identify any structural or clearance issues. They will also assess whether your site requires any reinforcements or special considerations due to local codes. Ask the inspector to provide a detailed report that includes measurements, material recommendations, insulation options, and an estimated timeline.
Step 2 — Choose Design, Material, and Hardware
After the initial inspection, choose the door style and material that fits your needs and aesthetic preferences. Options commonly recommended in Palm Beach include galvanized steel for coastal durability, aluminum for modern designs, composite and fiberglass for maintenance-free alternatives, and wood for traditional appearances where extra maintenance is acceptable. Discuss hardware finishes, window options, and insulation levels. Choosing the right hardware—rollers, tracks, springs, and struts—ensures reliable operation and longevity, particularly in humid or salty environments.
Step 3 — Obtain Permits and Verify Compliance
Depending on local regulations and whether the door is impact-rated, your contractor may need to obtain permits. Confirm who is responsible for pulling permits and ensure all documentation is submitted to the local building department. Proper permitting will ensure the installation meets wind-load requirements and other code specifics for safety and insurance compliance.
Step 4 — Order Materials and Schedule Installation
Once you approve designs and permits are in process, the supplier will order the door and necessary hardware. Lead times can vary based on customization and product availability, so confirm expected delivery and installation windows. Schedule the installation when the door and all components are in hand, and verify that the installation team has access to the site and understands any special site constraints.
Step 5 — Site Preparation
Prepare the garage for installation by clearing the area, moving vehicles and stored items, and ensuring a safe workspace for the installers. Confirm that the work area has convenient access for large components and disposal of the old door. If the floor needs repair or leveling, address that prior to installation to ensure track alignment and proper operation.
Step 6 — Removal of the Old Door
Removal begins with disconnecting power to the opener and detaching the door from the opener unit. The technicians will then carefully disassemble the door panels, springs, cables, and tracks. Salvageable hardware may be set aside for reuse if it meets safety standards. Proper disposal of the old door and material will be part of the contractor’s scope if agreed upon in the contract.
Step 7 —Inspect and Prepare the Opening
With the old door removed, the crew inspects the header, frame, and supporting structure. Any needed repairs—such as reinforcing the header, replacing rotted wood, or correcting framing—should be completed before new components are installed. A structurally sound opening ensures the tracks and springs function correctly and that the new door will be secure under wind load.
Step 8 —Install Tracks, Springs, and Hardware
Technicians install tracks, springs, cables, rollers, and supporting hardware next. High-quality springs matched to the door’s weight are critical for safe operation. Proper track alignment ensures smooth movement and reduces premature wear. Installers will also secure any reinforcement struts required for heavier or impact-rated doors.
Step 9 —Hang Door Panels and Balance System
Door panels are lifted and secured, typically starting from the bottom and working upward. Installers confirm panel alignment, add weatherstripping, and test the door balance. Correct spring tension ensures the door stays in balance and can be operated manually in case of power loss. The balance test also verifies that the opener will not be overloaded.
Step 10 —Install or Reconnect the Opener
If you are keeping the existing opener, technicians will reconnect it and calibrate limits and force settings. If you opted for a new opener, they will install it, connect power, and configure smart features, remote controls, and safety sensors. Confirm the opener has appropriate torque and battery backup if desired, and ensure sensors meet safety standards for auto-reverse functionality.
Step 11 —Weatherproofing and Sealing
Installers add bottom seals, side seals, and header seals to prevent water, humidity, and pests from entering the garage. Appropriate sealing is particularly important in Palm Beach to keep out wind-driven rain and to maintain a stable environment inside the garage.
Step 12 —Final Testing and Customer Walkthrough
After installation, the crew tests the door’s operation multiple times, checks auto-reverse performance, and inspects fasteners and seals. The technician should provide a walkthrough that explains operation, safety features, manual release use, and recommended maintenance tasks. Ask for maintenance schedules and emergency contact information for the installer.
Step 13 —Paperwork, Warranties, and Clean-up
Before they leave, ensure you receive product and labor warranties, permit sign-offs if applicable, and a final invoice that matches the agreed contract. A reputable installer will leave the site clean and take responsibility for disposing of old materials if that was part of the agreement.
Quality Assurance and Common Concerns
Throughout the process, maintain communication with your contractor to address questions and avoid misunderstandings. Common concerns include unexpected delays due to custom components, the need for additional structural repairs, and coordinating timing with other home projects. Understanding each step in advance reduces surprises and keeps the project on schedule.
Maintenance After Replacement
After the replacement, regular maintenance extends the life of your new door and helps prevent emergencies. Recommended routine tasks include lubricating moving parts every six months, visual inspections for wear or corrosion, periodic balance tests, and ensuring seals remain intact. For storm-prone seasons, check the door and seals before and after hurricane season to prevent and repair potential damage quickly.
Middle of Project Considerations
Midway through the project, you may need to make decisions about finishing touches such as paint or stain color, final hardware choices, or whether to add smart features to your opener. At this stage, confirm delivery dates for any remaining parts and coordinate closely with the installation team to avoid delays. If you need professional guidance for design or performance options, connect with trusted providers who specialize in local installations like garage door replacement services to ensure code compliance and durability.
Frequently Asked Questions
Q: How soon can installation happen after ordering a door?
A: Lead times vary depending on customization, material choice, and supplier schedules. Standard doors may be installed within days to a few weeks, while custom or impact-rated doors can take longer.
Q: What preparations should I make before installers arrive?
A: Clear the garage of vehicles and stored items, ensure a clear path for installers and materials, and secure pets and children away from the work area.
Q: Will installation disrupt my utilities?
A: Installers will typically disconnect and reconnect the opener power briefly. If structural reinforcements or electrical upgrades are needed, additional contractors may be involved, which could extend the work scope.
Q: Can I keep my existing opener?
A: If the opener is safe and compatible with the new door’s weight and balance, it can often be reused. When in doubt, consult with installers about upgrade benefits such as smarter features, stronger torque, or battery backup.
Completing a garage door replacement involves multiple steps but is manageable when you understand the sequence and expectations. Carefully vet contractors, confirm permit responsibilities, and maintain open communication to ensure satisfactory results from inspection to final sign-off. If you are ready to schedule a professional inspection or discuss options with a local team experienced in Palm Beach replacements, consider reviewing specialized service options and consultation offers at garage door replacement services.
When the project is complete, follow the recommended maintenance schedule, keep warranty information safe, and enjoy the improved safety, function, and appearance of your home. A well-executed replacement provides peace of mind and long-term reliability for your garage system.