
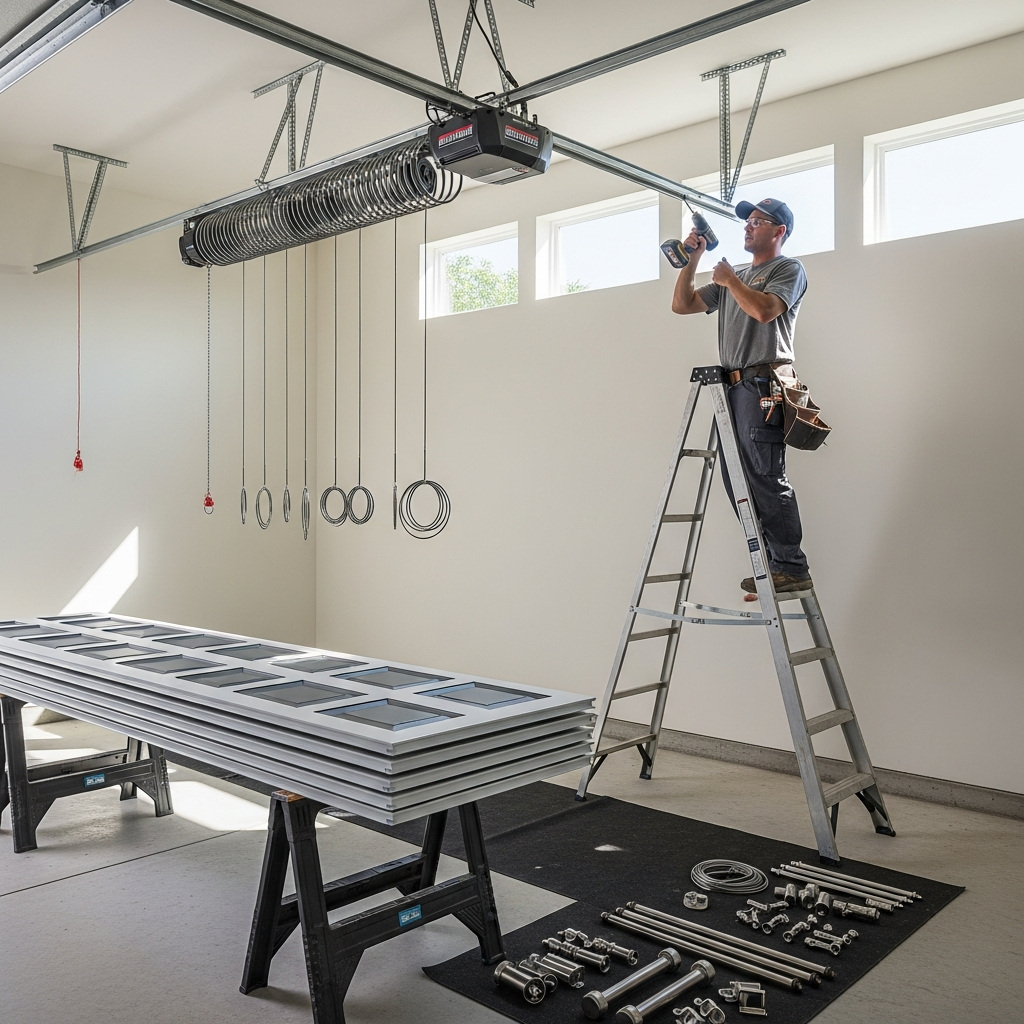
Introduction
Installing a garage door in a Palm Beach, Florida home demands both general installation know-how and attention to local conditions such as humidity, salt air, and hurricane exposure. This step-by-step guide walks through the common sequence of tasks from site preparation through final testing and maintenance guidance. Engaging with experienced local professionals early can simplify decisions about materials and compliance; for expert help, consider arranging services with professional garage door installation providers who understand regional requirements.
Step 1: Site Assessment and Measurements
Every successful installation begins with a thorough site assessment. Accurate measurements and environmental observations inform product selection and installation techniques.
Measure the opening width and height: Take three measurements for each dimension—top, middle, and bottom for width; left, center, and right for height—to confirm the opening is square.
Record headroom and side room: Measure from the top of the opening to the ceiling (headroom) and from each side of the opening to obstructions like studs or electrical boxes (side room).
Check backroom depth: Measure the space from the opening to the back wall to determine if a standard or low-headroom track system is needed.
Note local exposure: Record proximity to the coast, trees, and potential debris sources. This helps determine corrosion-resistant finishes and wind-rated components.
Step 2: Product Selection
Choose a door system that balances durability, aesthetics, and local performance requirements. Material, insulation, and wind rating are all part of the selection process.
Choose material and finish: Options include steel, aluminum, wood, and composite. For coastal environments, materials and finishes with high corrosion resistance extend longevity.
Select insulation: If you use the garage for storage or work, insulated panels help maintain temperatures and reduce condensation.
Determine wind-load rating: Confirm with your contractor whether you need an impact-rated door or reinforced hardware to meet hurricane-prone area standards.
Pick hardware and windows: Select corrosion-resistant hardware and consider impact-rated windows for light without sacrificing protection.
Step 3: Ordering and Scheduling
Once you finalize choices, coordinate lead times and set a realistic installation date.
Order components with lead-time in mind: Custom finishes and impact-rated materials may have longer lead times. Schedule installation only after components are confirmed.
Confirm permits and approvals: Submit permit materials and confirm local building department timelines for review.
Schedule installation date and prepare property: Notify neighbors if necessary, clear vehicles, and move stored items from the garage to create a safe work area.
Step 4: Delivery and Staging
Receiving and staging materials correctly speeds installation and reduces the risk of damage.
Inspect delivered items: Confirm all panels, tracks, springs, fasteners, and hardware match the purchase order and are undamaged.
Stage parts safely: Place panels on soft supports to avoid scratches. Keep hardware sorted and near the work area for efficient access.
Protect landscaping and floors: Use plywood and drop cloths for heavy components and to reduce the chance of staining or damage from tools.
Step 5: Removing the Old Door (if applicable)
Careful removal prevents damage to the opening and makes way for proper installation of new components.
Disconnect opener: Ensure power is off and disengage the opener carriage before starting removal.
Release spring tension safely: Only trained technicians should handle spring tension. This step is hazardous and requires proper tools and expertise.
Remove panels and hardware: Carefully detach panels and label them if you plan to reuse any components for reference. Set aside for disposal or recycling as agreed.
Step 6: Installing Tracks, Springs, and Panels
This is the core of the installation. Accuracy at this stage ensures smooth operation and long-term reliability.
Mount tracks: Align and secure vertical and horizontal tracks plumb and level. Track alignment affects roller travel and contributes to the door’s lifespan.
Install torsion or extension springs: Install torsion springs above the opening or extension springs on the sides, depending on design. Proper spring selection and calibration are critical for balanced operation.
Hang panels sequentially: Install the bottom panel with a secure weather seal, then stack and fasten subsequent panels, ensuring seal continuity and correct hinge alignment.
Fit rollers and hardware: Install rollers, hinges, and brackets with fasteners tightened to manufacturer torque recommendations. In coastal areas, use stainless or galvanized fasteners when possible.
Step 7: Opener Installation and Wiring
Install the operator and connect electrical components with attention to code and safety.
Mount the operator: Secure the opener to the ceiling or header and connect to the door’s trolley system.
Run power and controls: Install a dedicated circuit if required and mount wall controls and external keypads in weather-protected locations.
Program travel limits and force: Set the opener’s travel limits and force so the door stops and reverses correctly when encountering an obstruction.
Step 8: Final Testing and Adjustments
Thorough testing confirms performance and safety before the crew leaves site.
Balance test: Disconnect the opener and lift the door manually to ensure it remains stationary when partially opened.
Auto-reverse and sensor checks: Test reversal with obstruction at threshold and verify photo-eye alignment and sensitivity.
Operational cycles: Run multiple open and close cycles to detect any binding, rubbing, or unusual noises. Make final adjustments to tension and alignment.
Step 9: Clean Up and Documentation
A professional job includes site cleanup and transfer of documentation to the homeowner.
Remove debris and packaging: Ensure the garage and surrounding area are cleared of scrap materials and packaging.
Hand over documentation: Provide manuals, warranty information, and maintenance recommendations for the door and opener.
Demonstrate operation: Show the homeowner how to operate the door manually, use remote controls, and perform basic checks.
FAQ
Q: How long will the entire process take from order to completion?
A: The timeline varies based on product selection and local permit processing, but typically ranges from a few weeks to a couple of months for custom or impact-rated doors.
Q: Who handles permitting?
A: Many professional installers handle permit submission and inspections on behalf of homeowners. Confirm scope in your contract.
Q: What maintenance should I expect post-installation?
A: Routine lubrication, spring inspection, sensor cleaning, and periodic balance checks are standard. Schedule semi-annual maintenance to keep the system running smoothly.
Closing Thoughts and Next Steps
Following these step-by-step guidelines will help you navigate a garage door installation project with confidence. Local experience matters greatly in Palm Beach—choosing installers familiar with regional codes, wind-load requirements, and corrosive conditions will protect your investment and help ensure long-term performance. When you are ready to move forward and want professional oversight from selection through final inspection, connect with experts who know the local landscape and can manage every phase with care.
To arrange an on-site assessment and begin your installation with professionals who understand Palm Beach requirements, contact professional garage door installation and get personalized guidance tailored to your home.