Introduction
Understanding the garage door installation process helps homeowners in Palm Beach, Florida prepare for a smooth experience from initial planning to final testing. A methodical approach ensures that choices about materials, hardware, and safety features align with both functional needs and local conditions. Professional installers bring expertise that covers measurements, preparation, installation steps, and post-installation testing. For many homeowners, engaging a specialized team that focuses on garage door installation provides valuable guidance and efficient execution throughout the project.
Initial Consultation and Needs Assessment
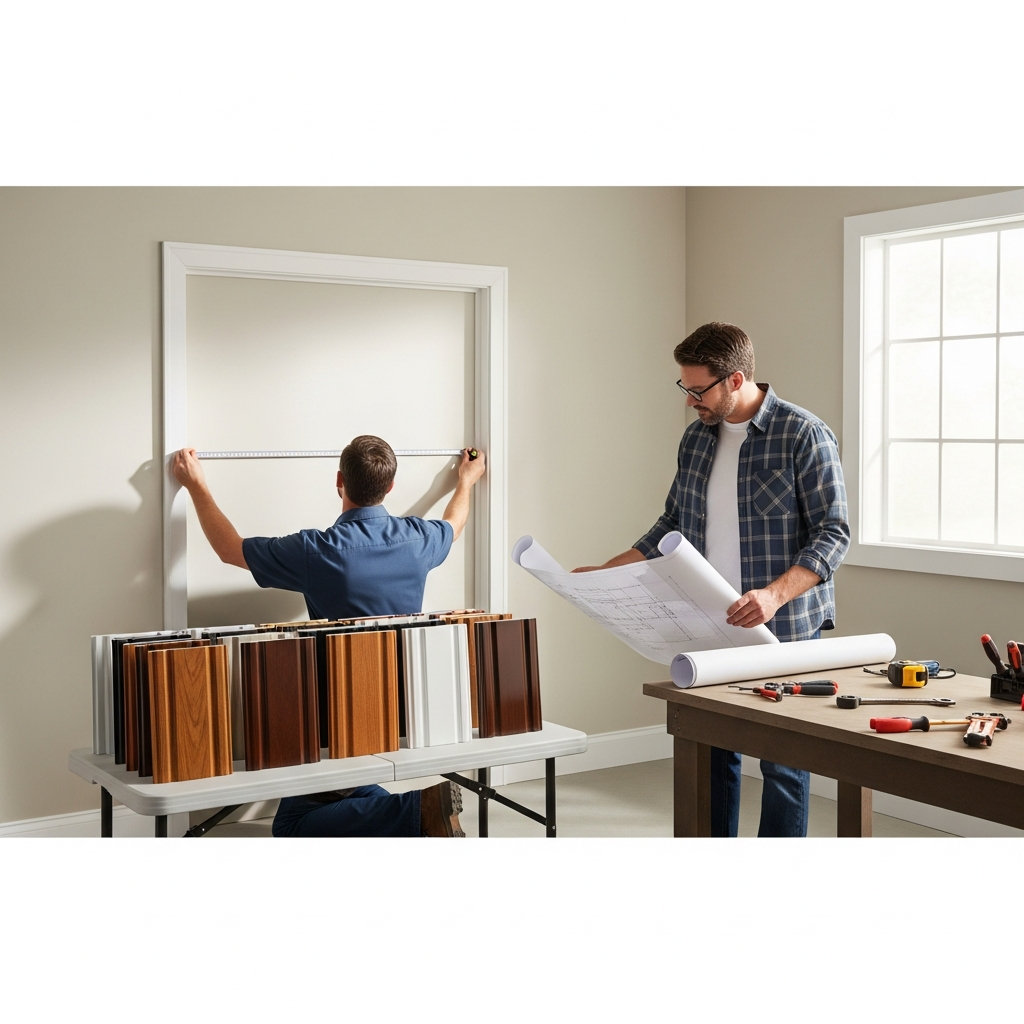
The first phase begins with an on-site consultation. During this visit, a technician measures the opening, assesses the headroom and side room requirements, checks the condition of framing and electrical access, and discusses material and style preferences. This is a good time to ask about wind-resistant options, insulation levels, and finishes suitable for the coastal environment. The installer will document measurements and recommendations, and outline a preliminary plan tailored to the property.
Selecting Door Style and Materials
Homeowners choose from several door styles—sectional, roll-up, carriage, and custom flush designs. Material options include steel, aluminum, wood, and composite blends. Each option has aesthetic and maintenance implications. Steel and aluminum are low maintenance and durable, composite offers wood-like appearance without heavy upkeep, and wood delivers natural beauty with higher maintenance responsibility. Discussing the tradeoffs with the installer at this early stage is essential to selecting the best fit for long-term performance.
Preparing the Site
Before installation day, homeowners should prepare the work area by clearing vehicles and removing items stored near the garage door opening. Installers may need access to electrical outlets or panels for opener installation. If structural repairs or reinforcement are required, address those needs before the door arrives to prevent delays. Clear communication about timing and any required homeowner preparations promotes a smoother installation process.
Removal of the Old Door and Inspection
If replacing an existing door, the installer will remove the old door and hardware and inspect the opening for rot, damage, or framing issues. This inspection determines whether additional repairs are necessary prior to installing the new system. Addressing structural concerns at this stage prevents operational issues later and ensures the new door mounts securely and functions properly.
Installing Tracks, Springs, and Hardware
The core of the installation involves mounting tracks, springs, rollers, and hardware that enable the door to move safely and reliably. Proper adjustment of spring tension and balance is critical for smooth operation and for the safe use of automatic openers. Technicians use specialized tools and follow manufacturer specifications to set up these components. Accurate alignment and calibration reduce wear and support longevity.
Mounting Panels and Adjusting Alignment
After hardware installation, the door panels are mounted and aligned within the tracks. Technicians check for smooth movement, adjust rollers and hinges as needed, and ensure that the door seals properly at the floor and sides. Weatherstripping and seals are installed or replaced to improve energy efficiency and protect against the elements, which is particularly important in Palm Beach’s humid climate.
Opener Installation and Integration
If the project includes an automatic opener, the installer mounts and wires the unit according to manufacturer instructions. Modern openers often include safety sensors, wireless connectivity, and backup power options. Technicians will configure travel limits, sensitivity, and safety features such as auto-reverse tests. Integration with smart home systems can be set up if desired, ensuring compatibility and secure access control.
Testing Safety Features and Final Adjustments
Thorough testing is a vital final step. Installers test the balance of the door, the functionality of the emergency release, and the response of safety sensors. They also run the door through multiple cycles to confirm consistent operation, listen for noises that may indicate misalignment, and perform any final tension or alignment adjustments. The installer documents tests and often provides the homeowner with a checklist of maintenance tips and safety checks to perform periodically.
Documentation and Warranty Information
Upon completion, homeowners receive documentation that details installed components, warranty terms, and recommended maintenance. Technicians typically explain warranty coverage and provide contact information for service or future needs. This documentation is helpful for future property transfers and for maintaining records of service and part replacements.
Post-Installation Care and Maintenance
Proper care after installation enhances durability and performance. Homeowners should follow recommended maintenance routines such as periodic inspection of springs and cables, lubrication of moving parts, and testing of safety sensors. Keeping the door clean and promptly attending to minor repairs will reduce the likelihood of major issues. Many installers offer maintenance schedules or service plans to support long-term upkeep and to address any emerging concerns proactively.
Troubleshooting Common Early Issues
Shortly after installation, homeowners may notice minor settling noises, small adjustments needed to tension, or sensor alignment requirements. These early issues are normal and usually resolved with a follow-up visit. If persistent problems occur, contact the installer for troubleshooting, as early attention prevents further wear or damage.
Planning for Upgrades and Future Needs
When installing a new door, consider future needs such as accessibility upgrades, enhanced insulation, or smart home integration. Discuss potential future additions with your installer so infrastructure such as wiring or mounting points can be incorporated during the initial installation. Planning ahead saves time and reduces complexity if upgrades are pursued later.
Frequently Asked Questions
Q: How long does a typical installation take? A: The duration depends on project scope. A straightforward replacement often completes in a single day, while projects requiring structural repairs or custom fabrication may take longer. Your installer will provide an estimated timeline following the assessment.
Q: Will installation disrupt my household? A: Installers strive to minimize disruption by providing clear arrival times and working efficiently. Clearing the area and arranging alternative parking and access reduces inconvenience during the installation period.
Q: What warranty information should I expect? A: Expect documentation that outlines manufacturer and workmanship warranties, recommended care, and contact information for service. Clarify any questions about coverage during the final walkthrough.
Q: Can I request specific hardware finishes? A: Yes. Many installers offer hardware selections and finishes to match the door style and home aesthetic. Discuss choices early to ensure availability and compatibility with the door design.
Final Steps and Contact
Understanding the installation process empowers homeowners to make informed choices and collaborate effectively with their installer. By preparing the site, choosing suitable materials, and following recommended maintenance, you can ensure reliable operation and optimal performance. If you are ready to schedule an assessment or to begin planning your installation, contact a professional team with experience in local conditions. To schedule a consultation and move forward with professional support, reach out to a trusted garage door installation provider and set up a site visit to start the process.