Installing a garage door in Florida is different from almost anywhere else. Between coastal weather, humidity, and wind design requirements, a successful project balances durability, safety, and style while meeting code. Whether you are replacing an aging door or planning a new build, the steps below outline how to move from idea to inspection with confidence. If you want a hands-off experience, many homeowners enlist proven professionals for garage door installation who manage selection, paperwork, and installation details tailored to Florida’s unique conditions.
Step 1: Define Your Goals and Constraints
Decide what matters most: wind resistance, quiet operation, insulation, glass for natural light, or a specific architectural look. Note any HOA guidelines, consider whether you want smart controls, and identify site limitations such as headroom, side room, or backroom for tracks and springs.
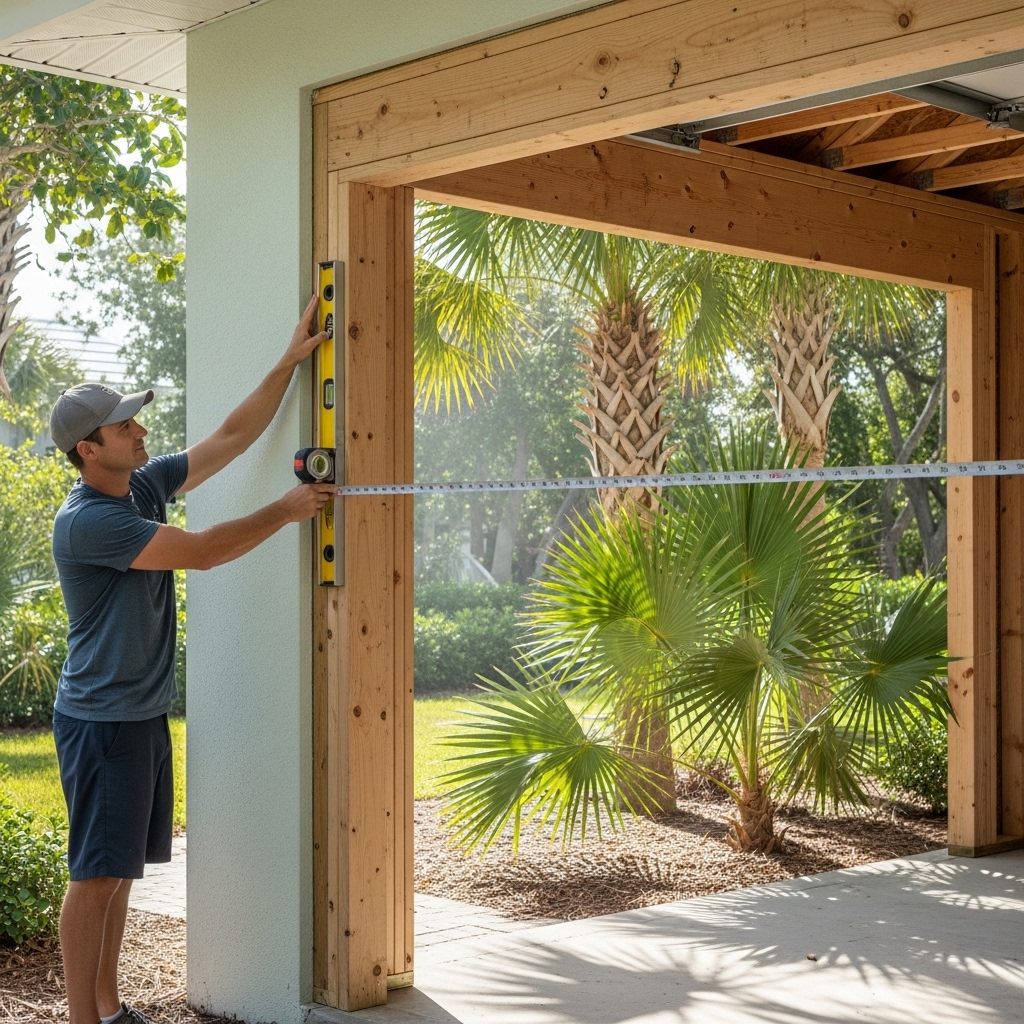
Step 2: Measure and Inspect the Opening
- Measure width and height at multiple points and record the smallest dimensions.
- Check headroom to the lowest obstruction and side room for track clearance.
- Verify the slab is level and the framing is plumb and square.
- Look for signs of prior water intrusion or corrosion that may inform seal or hardware choices.
Step 3: Choose a Florida-Ready Door
- Wind or impact ratings appropriate for your location and exposure.
- Reinforced panels and heavy-gauge tracks for increased stiffness.
- Corrosion-resistant materials and finishes suitable for coastal humidity.
- Insulation for comfort and noise control, particularly for garages used as flex space.
- Window options with impact-rated glass where required, and UV-resistant seals.
Step 4: Select the Right Opener and Accessories
- Drive type: belt drives run quieter; wall-mounts can free overhead space.
- Power and compatibility: ensure the opener is rated for the door’s weight and size.
- Battery backup: maintain access during power outages.
- Smart features: app control, camera options, and alerts for peace of mind.
- Keypad entry and LED lighting: convenience and visibility in a humid environment.
Step 5: Permits and Documentation
Most Florida municipalities require a permit for installation or replacement. Gather product approvals, wind design data, and installation instructions. Your permit office may have online submission; a complete package accelerates review. Once approved, post the permit on-site and coordinate scheduling.
Step 6: Schedule and Prepare the Workspace
Clear 8–10 feet inside the garage from the opening inward, provide access to power, and confirm Wi-Fi details if using smart features. Make arrangements for pets and children so the work area remains safe. If the slab is unlevel, discuss threshold options to reduce water ingress.
Step 7: Removal of the Existing Door
Technicians release spring tension, remove panels and hardware, and inspect the framing. It’s critical that this step be performed by trained professionals due to the energy stored in springs and cables. Any necessary reinforcement is completed before new hardware is installed.
Step 8: Install Tracks, Panels, and Reinforcements
Vertical and horizontal tracks are mounted plumb and level per the product approval, using specified anchors and spacing. Panels are stacked, hinges and rollers installed, and struts added for stiffness. Proper alignment prevents rubbing and ensures smooth operation even under wind load.
Step 9: Springs, Cables, and Balance
Torsion springs are sized to the door’s weight and installed with correct tension. Balance is confirmed by disconnecting the opener and positioning the door at mid-travel; it should hold steady without drifting. Lift cables are routed properly with equal tension to support even lifting.
Step 10: Opener, Safety Sensors, and Programming
The opener rail and trolley are aligned with the door centerline. Safety sensors are positioned near the floor and tested for obstruction detection. Travel limits and force settings are fine-tuned, remotes are programmed, and smart apps connected if applicable.
Step 11: Weather Seals and Final Adjustments
Bottom and perimeter seals are installed and adjusted to reduce water and air infiltration. In Florida’s rainy climate, carefully fitted seals make a noticeable difference in comfort and protection for stored items.
Step 12: Testing, Cleanup, and Demonstration
The system is cycled multiple times, fasteners are re-checked, and noise or friction points addressed. You will learn how to operate the manual release, lubricate moving parts, and perform simple checks that keep the door running smoothly.
Maintenance Plan for Florida Conditions
- Monthly: inspect hardware, listen for new noises, and test photo eye reversals.
- Quarterly: lubricate rollers, hinges, and bearings with appropriate products.
- Seasonally: reassess seals, adjust opener settings if needed, and check Wi-Fi connectivity.
- After storms: inspect tracks and fasteners for movement before reconnecting the opener.
Homeowner Tips to Enhance Durability
- Choose sealed rollers and heavy-duty hinges to reduce wear in humid environments.
- Rinse coastal salt residue periodically from exterior components and reapply protective coatings as needed.
- Consider a battery-backed opener for reliable access during outages.
- Photograph key fastening points for your records and inspection reference.
- Keep documentation organized: permit, product approvals, and installation instructions.
Mid-Project Checkpoint
Before calling for inspection, verify the installed components match the permit and product approval. Confirm struts, fastener spacing, and track gauge meet specifications. If supply constraints required substitutions, obtain updated documents to avoid delays. If you prefer a team that coordinates selections, paperwork, and inspection timing as part of their garage door installation service, now is the time to engage them so final steps stay aligned.
Frequently Asked Questions
Q: Do I need a permit for a replacement garage door? A: Most Florida municipalities require one. A permit helps verify code compliance and safety standards.
Q: What is the benefit of an insulated door in Florida? A: Insulation improves comfort, reduces noise, and can help stabilize temperatures for storage or workspace use.
Q: Can I install the door myself? A: While some homeowners are handy, springs and cables are dangerous under tension. Professional installation also simplifies permits and inspections.
Q: How long will installation take? A: Many standard projects finish in a day, but special configurations or multiple doors may take longer.
Q: What maintenance is essential? A: Regular lubrication, fastener checks, seal inspection, and balance tests keep the system running smoothly.
Q: How do I prepare for inspection? A: Have documents on-site, ensure access, and verify safety sensors and reversal functions operate correctly.
Ready to Upgrade Your Florida Garage?
Following these steps keeps your project organized, code-ready, and tailored to Florida’s climate. If you would like a seamless experience from selection through inspection, schedule professional garage door installation and enjoy a strong, quiet, and reliable system built for your home.