The right garage door adds strength, safety, and curb appeal to your Florida home, but coastal weather and building codes mean the process demands careful planning. This comprehensive checklist walks you through every decision and step—from measuring and permitting to weatherproofing and final inspection—so you can move confidently from idea to installation. If you are coordinating with a professional, begin by aligning expectations on scope, code compliance, and inspection timelines for your local jurisdiction. For homeowners comparing options or preparing for the project, consider bookmarking this guide and sharing it with your installer. To streamline the process from the start, many homeowners choose an experienced team for garage door installation to ensure code compliance, proper hardware selection, and a smooth inspection.
Why a Florida-Specific Checklist Matters
Florida’s climate, coastal winds, and statewide building codes raise the stakes for garage door selection and installation. A door that looks similar to one used in another state may not meet local wind or impact requirements here. Salt air, humidity, and intense sun accelerate wear on hardware, finishes, and electronics, while hurricane-season wind loads demand stronger framing, tracks, bracing, and anchoring. This checklist is tailored to Florida homes so you can make decisions that protect your property and help your installation pass inspections the first time.
Pre-Installation Planning
- Confirm your local building code requirements, including wind load ratings and whether your address is in a High Velocity Hurricane Zone (HVHZ) or wind-borne debris region.
- Check HOA guidelines for panel styles, colors, windows, and exterior appearance, and obtain HOA approval if required.
- Identify whether you need a permit for replacement or new construction; most Florida municipalities require one for door and opener installations.
- Gather required documents: product approvals, manufacturer’s installation instructions, and any engineering details for reinforcement.
- Decide on door type: single, double, or custom width; insulated or non-insulated; impact-rated if required by code or location.
- Evaluate material options: steel with coastal-grade coating, aluminum, composite, or fiberglass; consider corrosion resistance in coastal zones.
- Consider insulation value and thermal performance to reduce heat gain, protect belongings, and improve comfort in the garage.
- Plan opener compatibility: belt drive for quieter operation, DC motor with battery backup for outages, and smart features for remote access.
- Determine side room and headroom availability for torsion spring assemblies, low-headroom kits, or high-lift configurations.
- Assess electrical needs: dedicated outlet for opener, surge protection, and proximity to Wi-Fi if using smart controls.
- Plan safe removal and disposal of the old door and hardware, including spring and cable components under tension.
- Schedule around weather and inspection availability, particularly during hurricane season when workloads and lead times can increase.
Measuring and Verifying the Opening
- Measure opening width in three places (top, middle, bottom) and record the smallest number.
- Measure opening height on both sides and at the center; verify floor levelness across the entire threshold.
- Measure headroom from top of opening to the lowest obstruction (joists, ducts, or beams).
- Measure side room on both sides for track, spring assembly, and vertical supports.
- Check backroom depth for horizontal tracks and opener clearance, including space for a safety reverse sensor and manual release.
- Inspect framing: verify the jambs and header are plumb, level, and adequately secured to structural members, not just sheathing.
- Confirm no conflicting utilities or obstacles, such as gas lines, water lines, or low-hanging electrical conduits.
Choosing a Florida-Ready Door and Hardware
- Wind-rated and impact-rated options: match the product’s approval to your jurisdiction’s wind design criteria and exposure category.
- Reinforced sections and hardware: heavier-gauge tracks, additional struts, and through-bolted hardware help resist wind pressure and cyclic loading.
- Corrosion-resistant finishes: look for galvanized, powder-coated, or marine-grade components in coastal zones.
- Weather seals: select high-quality bottom seals, perimeter seals, and, if needed, threshold kits to limit wind-driven rain.
- Hinges, rollers, and bearings: premium sealed rollers and heavy-duty hinges reduce friction, noise, and long-term wear.
- Springs sized to the door: proper balance is critical for safety, opener longevity, and smooth operation in humid environments.
- Opener considerations: choose battery backup, rolling-code security, and smartphone integration for convenience and safety.
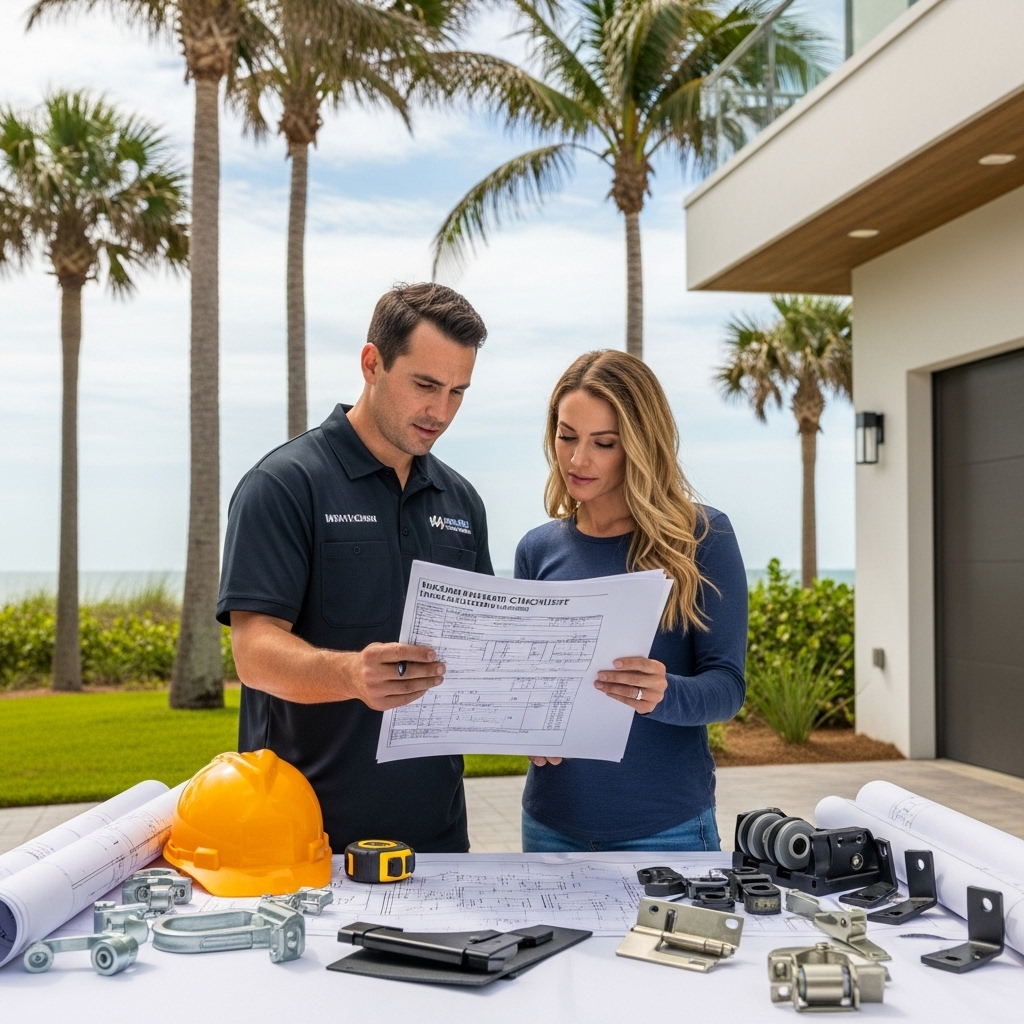
Permits, Product Approvals, and Inspections
Most Florida jurisdictions require a permit for garage door installation. The typical submission includes the permit application, the door’s product approval documentation, wind load calculations or design pressures, and installer credentials when applicable. After installation, an inspection verifies compliance with approved plans, fastening schedules, and safety standards. Prep your documents in advance and schedule inspections strategically to avoid delays during peak seasons.
Site Preparation Checklist
- Clear the garage interior, giving installers at least 10 feet of clear space from the opening inward.
- Protect items sensitive to dust or humidity; cover tools, stored goods, and vehicles if nearby.
- Provide access to power for tools and opener setup; ensure the circuit is active.
- Confirm Wi-Fi availability and password if you plan to use smart opener features.
- Verify pets and children will be kept clear of the workspace during installation.
Day-of-Installation Checklist
- Old door removal: verify safe spring release and proper disposal or recycling.
- Frame inspection: confirm the opening is plumb and square; repair or reinforce as needed.
- Jamb and header fasteners: install per product approval, using specified anchors and spacing.
- Track installation: use the correct gauge and alignment; verify vertical plumb and horizontal level.
- Panel stacking: follow sequence per manufacturer, check reveal and even spacing.
- Hinges and rollers: install with correct fasteners and torque; verify smooth travel.
- Struts and reinforcement: attach to top sections and opener bracket locations to prevent flexing under load.
- Spring system: size and tension according to door weight; verify balance with door disconnected from opener.
- Lift cables: ensure correct wrap direction, equal tension, and secure attachment at bottom brackets.
- Opener mounting: align rail height and trolley; use vibration isolation where appropriate.
- Safety sensors: mount at proper height near the floor; test alignment and obstruction response.
- Weather seals: install bottom seal and perimeter seals for a uniform, snug fit.
- Cleanup: remove debris, old materials, and packaging; sweep or vacuum work area.
Safety and Performance Testing
- Balance test: with opener disconnected, lift the door halfway; it should stay in place without drifting.
- Force settings: adjust opener force so it reverses on contact with minimal resistance.
- Photo eyes: test with a box or object; the door should reverse or refuse to close when the beam is interrupted.
- Manual release: verify you can disengage and re-engage the opener easily.
- Cycle test: open and close multiple times, listening for friction, rubbing, or clicking that could indicate misalignment.
- Final fastener check: confirm all critical bolts, anchors, and brackets are tight to spec.
Weatherproofing and Resilience
- Bottom seal compression: ensure uniform contact with the floor to block wind-driven rain and pests.
- Perimeter seals: confirm even contact along both jambs and the header.
- Threshold or floor leveling: address gaps caused by uneven slabs to reduce water intrusion.
- Surface finishes: maintain paint or coatings to protect against UV and salt air.
- Hardware protection: consider periodic lubrication and corrosion inhibitors, particularly near the coast.
Mid-Project Review and Documentation
Before calling for final inspection, review your documentation against the installed materials and methods. The product approval sheets, wind design data, and fastening schedules should match what is in place. If substitutions were made due to supply constraints, obtain updated documentation and ensure the new components meet or exceed design requirements. If you are working with a contractor, confirm who will schedule the inspection and be present to answer questions. For homeowners who want a streamlined, code-compliant experience, partnering with a professional team that specializes in garage door installation can help ensure each step aligns with local requirements and manufacturer specifications.
Maintenance and Long-Term Care
- Monthly: visually inspect cables, springs, rollers, and hinges; listen for new noises.
- Quarterly: lubricate rollers, hinges, and torsion spring bearings with a garage door–safe lubricant.
- Seasonally: check seals, adjust opener force and travel limits after temperature swings, and verify Wi-Fi connectivity for smart features.
- Annually: tighten fasteners, examine tracks for corrosion or deformation, and test the door balance.
- After storms: look for track shifts, loose anchors, or panel damage; cycle the door by hand before using the opener.
Troubleshooting Checklist
- Door won’t close: verify photo eyes are aligned and clean; check for obstructions.
- Door reverses: reduce force setting and inspect for binding or misaligned tracks.
- Loud operation: lubricate moving parts; check roller wear and hinge tightness.
- Uneven gaps: re-level tracks and confirm the door is square in the opening.
- Remote issues: replace batteries, reprogram remotes, and ensure the antenna is unobstructed.
- Salt-air corrosion: rinse hardware periodically and apply a protective lubricant film.
Frequently Asked Questions
Q: Do I need a permit to replace my garage door in Florida? A: In most jurisdictions, yes. A permit verifies code compliance, wind rating, and safe installation practices. Check with your local building department for specifics.
Q: What is the difference between wind-rated and impact-rated doors? A: Wind-rated doors are designed for specific design pressures, while impact-rated doors also resist debris strikes in wind-borne debris regions. Your location and codes determine what is required.
Q: How do I choose the right opener? A: Consider quiet operation, battery backup for outages, smart controls for convenience, and compatibility with your door’s weight and size.
Q: How soon can I use my door after installation? A: Immediately after testing and inspection by your installer, but make sure to schedule the required municipal inspection if applicable.
Q: What maintenance keeps my door running smoothly? A: Regular lubrication, fastener checks, seal inspections, and balance tests extend the life of your door and opener.
Q: Will coastal conditions affect my garage door? A: Yes. Choose corrosion-resistant materials and plan a maintenance routine that includes cleaning and protective coatings to mitigate salt-air effects.
Q: Can I keep my existing opener? A: Possibly, if it is compatible with the new door’s weight, safety sensors, and mounting requirements. Many homeowners take the opportunity to upgrade to modern features.
Q: What happens during inspection? A: The inspector verifies product approvals, structural fastening, safety features, and compliance with the submitted plans.
Ready to Check Off Every Box?
Your Florida garage door should be a protective barrier, an efficient entry point, and a reliable, quiet system that works every day of the year. If you want help selecting wind-compliant components, coordinating permits, and ensuring a smooth inspection, schedule professional garage door installation and enjoy the peace of mind that comes with a code-ready, expertly finished project.