
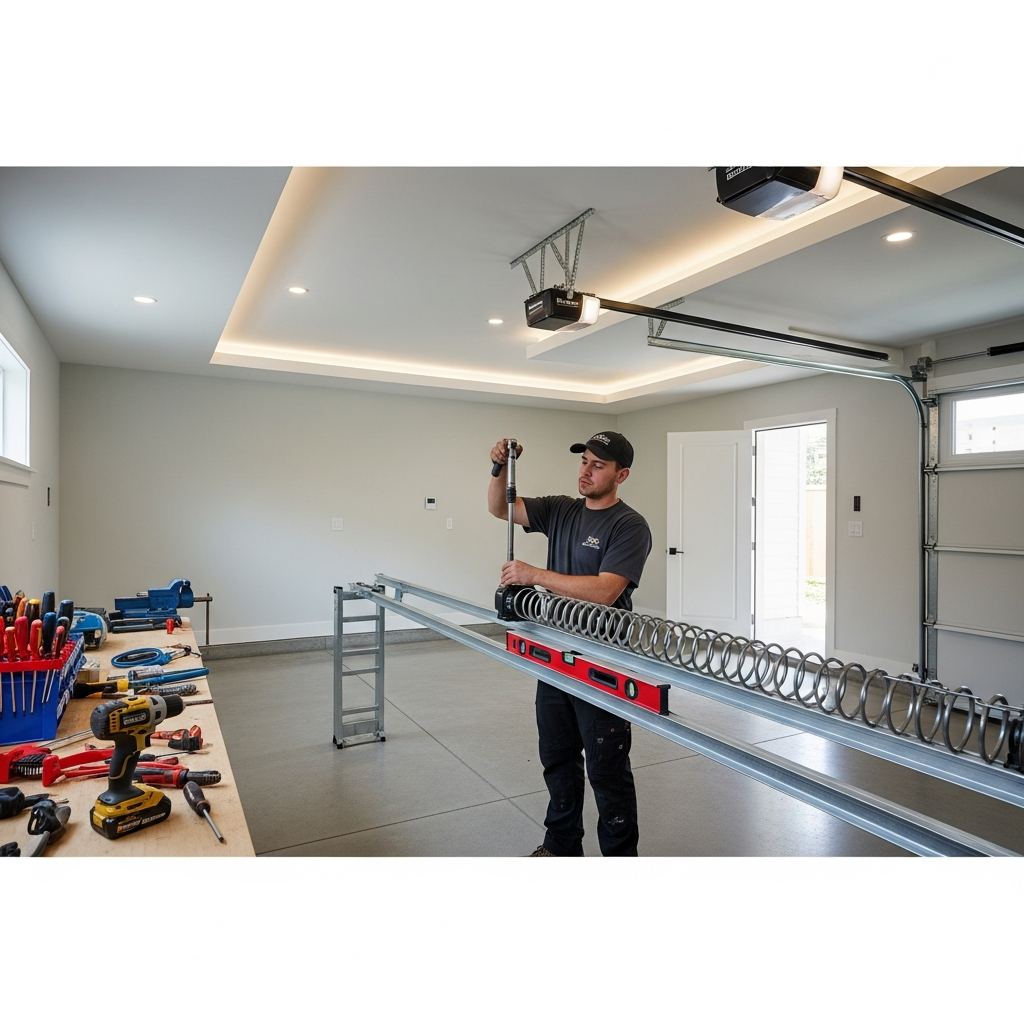
An installation guide tailored to Palm Beach, Florida, covers the technical steps needed for a successful garage door replacement, emphasizing coastal considerations, safety practices, and code compliance. Whether you plan to hire a professional contractor or simply want to understand each phase of the project, a structured guide clarifies expectations. For homeowners seeking professional installation, review certified local services such as garage door replacement to compare approaches and installation standards.
Overview of the installation workflow
The installation workflow typically involves initial assessment, component selection, removal of the old door, structural repairs as needed, precise installation of tracks and counterbalance systems, opener setup, and final testing and homeowner training. Each of these phases requires attention to detail: accurate measurements, correct fasteners, and adherence to manufacturer torque and tension specs. Attention to local conditions such as high humidity and salt exposure influences material selection and finish choices for a durable installation.
Pre-installation preparation
Before any removal or installation begins, gather tools, check permits, and prepare the site. Measure the opening triple-checking width and height at several points. Ensure adequate headroom and backroom for the chosen door type and opener configuration. Clear the garage of vehicles and storage items, and protect any remaining contents with drop cloths. This stage is critical for a clean, safe installation and reduces the chance of accidental damage to personal property.
Removing the existing door
Removal begins with disconnecting power to the opener and documenting the existing system for reference. Release spring tension carefully using the correct tools and follow all manufacturer safety procedures. Once tension is removed, detach the panels and hardware sequentially. Label or photograph parts if you intend to reuse any pieces. Remove old fasteners and clean the opening so the new components seat correctly.
Inspecting and repairing the opening
With the old door removed, inspect the header, jambs, and surrounding framing. Repair or replace any damaged wood or trim. If the header shows signs of sagging or inadequate bearing capacity, reinforce it before installing the new track and spring assemblies. Properly prepping the opening ensures the door operates smoothly and avoids accelerated wear.
Installing the new door components
1. Install vertical tracks and bracketry. Anchor the brackets into solid structural members, using corrosion-resistant fasteners and ensuring they are plumb and square.
2. Attach spring system components according to the selected configuration—torsion or extension springs require specific anchoring and cable routing to perform correctly.
3. Assemble and hang panels in sequence, confirming alignment and smooth roller engagement in the tracks.
4. Install horizontal tracks and adjust pitch to maintain proper panel overlap and sealing along the jambs.
Opener installation and safety features
When mounting the opener, use manufacturer-recommended fasteners and attach the unit to the strongest structural points available. Align the drive rail with the center of the door and test travel limits. Install safety sensors at recommended heights and verify the auto-reverse mechanism by placing an obstruction in the door’s path. In coastal areas, ensure electrical connections are protected against moisture and that any opener electronics have adequate ventilation and corrosion-resistant housings.
Balancing and calibration
Balancing the door is one of the most critical steps. Proper spring tension allows the door to remain stationary when partially opened and reduces load on the opener. After setting initial spring tension, manually operate the door to confirm smooth travel. Calibrate travel limits on the opener so the door seals fully at the bottom without excessive force and reverses when obstructed. Keep detailed notes on calibration settings for future reference.
Weatherproofing and finishing
Install bottom weather seals, jamb sweeps, and any threshold pieces to complete the installation. These components prevent water intrusion and reduce drafts, which is especially important during heavy rains or storms common in the region. Apply final touch-up paint or protective coatings to any exposed repairs and clean the area to present a finished appearance.
Testing and quality assurance
Comprehensive testing ensures that the installation meets safety and performance criteria. Perform multiple open and close cycles, test auto-reverse and sensor alignment, and check for unusual noises or binding points. Inspect all fasteners for proper torque and verify that the opener remote and wall control functions operate reliably. Quality assurance also includes documenting installed components, model numbers, and warranty start dates.
Training the homeowner
Before leaving the site, demonstrate manual release operations and show how to engage safety features. Explain a simple maintenance schedule: periodic lubrication, visual inspection of cables and springs, tightening loose hardware, and when to call for professional service. Provide written instructions or a homeowner packet that includes operational tips and emergency contact details for the installing team.
Corrosion prevention and product longevity
To extend product life in Palm Beach, specify corrosion-resistant hardware, stainless fasteners where possible, and powder-coated finishes that withstand salt and sun exposure. Recommend semi-annual rinsing of hardware to remove salt deposits and apply appropriate lubricants to moving parts. Proactive care reduces the likelihood of early component failure and maintains smooth operation.
Troubleshooting common installation issues
Common problems include misalignment that causes the door to rub or bind, excessive noise from worn rollers or loose hardware, and opener settings that are too aggressive, causing premature wear. Fix misalignment by adjusting track brackets and checking for out-of-square framing. Replace worn rollers and tighten hardware to combat noise. If the opener’s force settings are suspect, readjust limits and re-test auto-reverse until reliable operation is achieved.
Special considerations for retrofits and customizations
Retrofitting an older opening with a new style of door can require header reinforcement or additional headroom modifications. Custom windows, decorative hardware, and non-standard finishes add aesthetic value but also require precise ordering and careful handling during installation. Communicate lead times for custom parts and coordinate color matches for trim and siding to achieve a cohesive appearance.
Frequently Asked Questions
How often should I schedule maintenance after installation? Schedule a professional inspection annually and perform homeowner checks every three to six months for lubrication and visible wear.
Will the new door require a different opener? It depends on the door weight and travel. Heavier, insulated doors often benefit from belt-drive or higher capacity openers for quieter and more reliable performance.
What should I do if the door is noisy after installation? Inspect rollers, hinges, and track alignment. Replacing metal rollers with nylon rollers and ensuring hardware is tightened often reduces noise significantly.
Does the installation include removal of the old door? Many contractors include removal and disposal, but confirm this in writing within your proposal to avoid surprises.
Final recommendations and next steps
Successful installations start with careful planning, proper materials, and experienced technicians familiar with Palm Beach conditions. If you are ready to schedule an installation or need professional guidance for selection and site preparation, consider proven services that provide local expertise and robust warranties. For Palm Beach homeowners seeking professional guidance and reliable installers, review local service information for garage door replacement to help you move from planning to a completed installation.
Arrange an installation assessment
To ensure a seamless process and dependable long-term performance, arrange a site visit with a qualified team who can evaluate your opening, recommend materials, and provide a clear installation plan. A thorough pre-installation assessment addresses structural needs and identifies the correct components before any work begins, helping deliver a smooth and efficient replacement outcome.