Understanding the Fort Lauderdale Garage Door Replacement Process
Replacing a garage door in Fort Lauderdale is more than a simple swap of panels and tracks. It is a carefully sequenced process shaped by Florida’s High Velocity Hurricane Zone requirements, City of Fort Lauderdale permitting, and the realities of coastal weather. When you understand each step—from initial evaluation through final inspection—you can plan with confidence, minimize disruptions to daily life, and make informed choices about materials, hardware, and smart features. If you are at the outset and want a professional roadmap, consider speaking with local experts in garage door replacement who can explain how the process works under Broward County rules.
This guide breaks the replacement process into clear phases. You will learn what homeowners typically do, what installers handle, and what building officials review. Along the way, we highlight tips that simplify scheduling, help you avoid rework, and ensure your new door performs under South Florida’s challenging conditions.
Phase 1: Initial Consultation and Site Evaluation
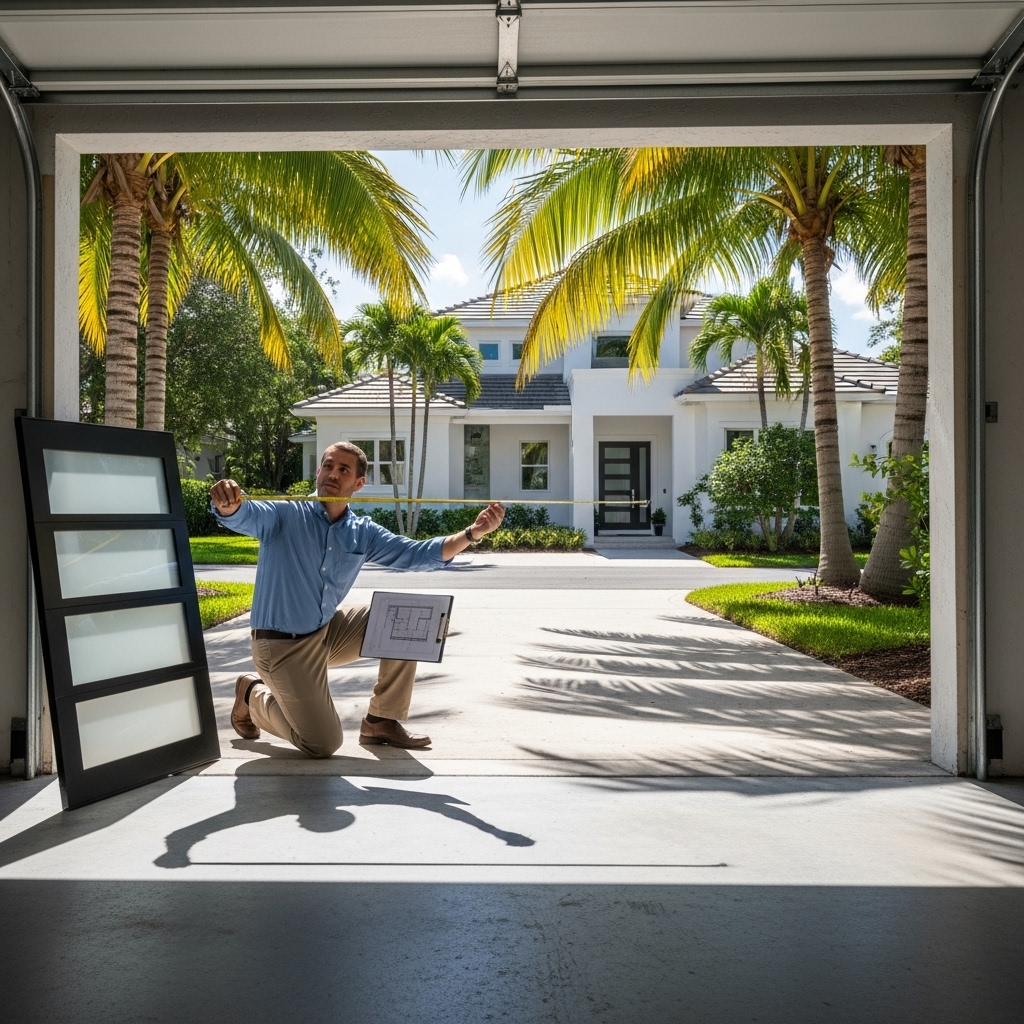
Every successful project begins with a thorough site evaluation. During this visit, a consultant measures the rough opening, headroom, side room, and backroom to confirm the door size and track configuration. They assess the slab for slope, inspect the framing, and note any obstacles like water heaters, storage racks, or conduit that might interfere with new tracks or a jackshaft opener.
Expect a discussion of design preferences, insulation, window options, and finishes that complement Fort Lauderdale’s coastal aesthetic. Critically, your consultant should confirm wind-load requirements and whether your home needs an impact-rated door to comply with HVHZ provisions. The evaluation also identifies corrosion-prone areas and recommends protective hardware or coatings suited to the coastal environment.
Phase 2: Product Selection and Documentation
After measurements, you will choose the door model, panel style, glass options, insulation level, track type, spring system, and opener. In Fort Lauderdale, documentation is essential. Your installer should provide Florida Product Approval details, and where appropriate, Miami-Dade Notice of Acceptance or equivalent approval for HVHZ installations. These documents must match your exact door size and configuration, including reinforcement struts and fastener patterns.
During selection, consider noise reduction, smart connectivity, battery backup, and sealed bottom thresholds to deal with heavy rains. If HOA approval is needed, gather color chips, panel samples, and renderings. HOA coordination can happen in parallel with permitting to keep the schedule on track.
Phase 3: Permitting in the City of Fort Lauderdale
In most cases, a permit is required for garage door replacement. Your installer typically completes the application, attaches product approvals, and submits plans or diagrams showing installation methods for tracks, anchors, and bracing. City reviewers check code compliance, wind-load ratings, and whether the product meets HVHZ requirements.
Permitting times vary with workload and season, but experienced installers know how to prepare a complete package that minimizes back-and-forth. During this phase, you can prepare the garage by clearing storage near the opening and along the walls where tracks and torsion hardware will mount.
Phase 4: Ordering and Lead Time
Once selections are finalized and the permit is underway or approved, the door is ordered. Lead times depend on the door’s material, finish, and customization level. Impact-rated glass, wood-look laminates, or special colors may add manufacturing time. If your project includes an opener upgrade, ensure the opener model, rail length, and accessory package align with your door’s height and weight.
Use the waiting period to plan for installation day logistics: where you will park vehicles, how you will secure pets, and what items should be temporarily relocated to allow clear access for ladders and panel staging.
Phase 5: Removal of the Old Door
On installation day, the crew begins by safely releasing spring tension and disassembling the old system. They remove panels, tracks, and hardware and dispose of them as part of the project scope. This phase is a good time to inspect the opening for hidden issues like damaged jambs or compromised header anchors. If repairs are needed, your installer will propose a remedy consistent with code and the door manufacturer’s requirements.
Responsible removal reduces risks and sets the stage for a precise installation. The crew will sweep the area, verify measurements again, and confirm that the new door configuration matches the approved documents.
Phase 6: Track, Spring, and Hardware Installation
With the opening ready, installers mount the vertical and horizontal tracks, ensuring they are level, plumb, and properly braced. In HVHZ regions, hardware selection is crucial. Reinforcement struts, heavier-gauge tracks, and robust fasteners help the door resist wind pressures and operate smoothly over time. The torsion spring system is installed next, sized to balance the new door’s weight precisely.
Attention to detail here avoids future problems. Correct track spacing prevents binding; accurate shaft alignment reduces vibration; and the right number of turns on the torsion springs ensures the door can be lifted manually in emergencies without feeling excessively heavy.
Phase 7: Panel Stacking and Section Alignment
Panels are stacked from bottom to top and secured according to the manufacturer’s pattern. Weather seals are fitted, and hinge placements are checked to maintain even reveals. Impact-rated doors often include additional struts or clip systems that must be attached in a specified sequence. Installers verify that rollers glide smoothly and that the door travels evenly through the tracks without rubbing or racking.
When windows are part of the design, impact glass or laminated inserts are installed with the proper seals. The team ensures consistent spacing, and if the design uses faux hardware, they confirm placement aligns with the overall style of the home.
Phase 8: Opener Setup and Smart Integration
If you are adding a new opener, the next step is mounting and programming the unit. Belt-drive, direct-drive, or wall-mounted jackshaft openers each have distinct installation requirements. Safety sensors are aligned, limits and force settings are dialed in, and remotes and keypads are programmed. Smart integration typically involves connecting to your home network, installing a mobile app, and verifying that alerts and remote controls work reliably.
Battery backup is a valuable feature in Fort Lauderdale, where seasonal storms can cause power interruptions. Camera-enabled openers add peace of mind by letting you verify deliveries or check the door status while traveling.
Phase 9: Balancing, Testing, and Quality Control
Before calling for inspection, the crew completes a thorough quality check. They test manual lift balance, confirm smooth travel, and verify auto-reverse performance both with the photo eyes and a pressure test. They inspect fastener torque, track bracing, and the evenness of weather seals along the sides and header. Any squeaks or vibrations are addressed with alignment tweaks or lubrication.
This phase ensures your door will not only pass inspection but also offer quiet, reliable operation day to day. The installer should also review routine maintenance with you, explaining which parts to keep an eye on and how to test the safety features.
Phase 10: Inspection and Documentation
A city inspection verifies that the installation matches the approved documents and meets code. Inspectors often check anchor patterns, hardware, safety sensor alignment, and the presence of product approval labels. Passing inspection closes the permit and provides a record you can retain for insurance or future real estate transactions.
Keep a folder with your permit, inspection results, product approvals, and any maintenance guidance. Organized documentation simplifies life and demonstrates that your home’s largest opening was professionally upgraded to current standards.
What Homeowners Can Do to Help the Process
There are several actions you can take to keep the project smooth and efficient. Clear the garage area so installers can work without obstacles. Confirm HOA requirements early. Decide on smart features and accessories before ordering to avoid late changes. Make sure someone is available on installation day to answer questions. Finally, plan for a brief period when vehicles might need to remain outside while the crew completes testing and cleanup.
Communication is key. If you prefer a quieter opener, a particular color, or unique window placements, share those preferences during the selection phase. The more details you finalize early, the fewer surprises later.
Fort Lauderdale Considerations: Wind, Water, and Sun
Coastal sun, humidity, and salt exposure influence material choices and maintenance. Consider corrosion-resistant hardware and UV-stable finishes. For heavy summer downpours, a quality bottom seal and threshold can help keep water out. Wind-load compliance is non-negotiable; select products specifically tested for HVHZ zones and make sure the exact configuration on your home matches the approvals.
If your garage is conditioned or adjacent to living areas, insulated doors provide comfort and can reduce noise migration into the home. In multifamily or townhome settings, coordinate with neighbors and HOAs to manage access and maintain consistent exterior aesthetics.
Troubleshooting During Installation
Occasionally, installers uncover conditions that need attention—warped framing, concrete spalls at anchor points, or prior noncompliant work. A good team will propose code-compliant solutions, such as using approved fastener alternatives, adding shims in specific locations, or switching to a track type better suited to the site. Ask the crew to explain the implications of each change so you understand how it affects performance and appearance.
After installation, listen to the door during the first week. Minor settling or hardware relaxation can sometimes require a quick adjustment. Call your installer if you hear grinding, popping, or excessive vibration—small tweaks early on prevent premature wear.
Frequently Asked Questions
Do I need to be home for the installation and inspection? It is best if someone is available for both. Installers may have questions about opener placement or smart setup, and inspectors sometimes need access to labels or controls located inside.
Can I reuse my old tracks and hardware? In most replacements, new doors require specific tracks, springs, and reinforcement hardware to meet code and operate correctly. Reusing old components can undermine performance and compliance.
How long does the process take from start to finish? Timelines vary by door selection, permitting, and inspection scheduling. Standard projects often complete installation in a day, with inspections to follow shortly after.
Will the new door be quieter? Yes, modern doors with insulated panels and upgraded rollers, paired with belt-drive or direct-drive openers, can significantly reduce noise.
What maintenance should I plan for? Periodic lubrication, cleaning of sensors, checking weather seals, and an annual professional tune-up help keep the system reliable and safe.
Move Forward with Confidence
With a clear understanding of each phase, you can approach your replacement with a calm, informed mindset. Select a door and hardware package that suits Fort Lauderdale’s climate, confirm documentation is in order, and trust experienced installers to manage removal, installation, and inspection. When you are ready to begin or want help choosing the right configuration for your home, connect with local professionals who specialize in garage door replacement and are familiar with City of Fort Lauderdale permitting and inspection requirements.