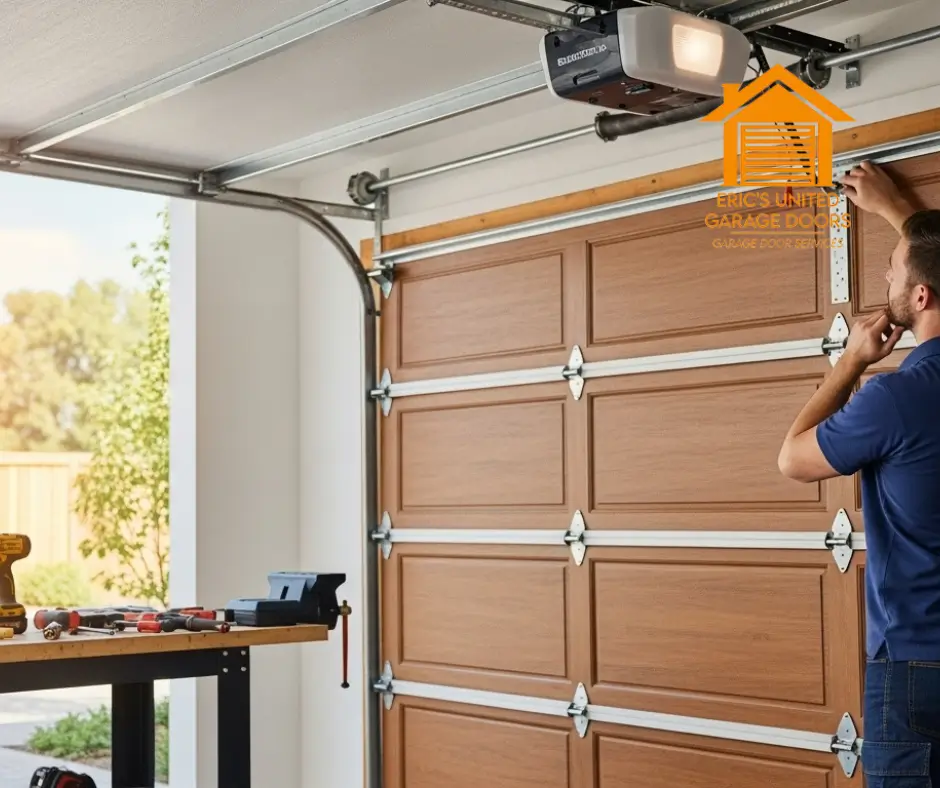
Upgrading your garage is one of the most impactful ways to improve your home’s function, appearance, and security. Whether you’re building new or replacing an older system, understanding the process of garage door installation (opener installation) is essential. From choosing the right door material to selecting the best opener type, every detail matters in creating a reliable and convenient garage setup.
Why Garage Door and Opener Installation Matters
A properly installed garage door system isn’t just about looks—it ensures daily reliability, safety, and energy efficiency. Faulty installation can lead to misaligned tracks, noisy operation, or even dangerous malfunctions. That’s why understanding the basics of garage door systems, especially opener components, is so important before making your decision.
Step 1: Choosing the Right Garage Door
Start by considering the type of door you want. Common garage door materials include:
- Steel: Durable, low-maintenance, and great for insulation.
- Wood: Offers natural beauty but may require more upkeep.
- Aluminum or Glass: Modern, lightweight, and perfect for contemporary homes.
Each material has its own benefits depending on your climate, budget, and style preferences. This is the foundation of your garage door installation (opener installation) project.
Step 2: Understanding Garage Door Openers
Openers are the heart of your garage system. They provide automation, security, and ease of use. Choosing the right drive type is a key decision:
- Chain Drive: Strong and dependable, though noisier than other options.
- Belt Drive: Quieter operation—ideal for garages attached to living spaces.
- Screw Drive: Minimal maintenance and decent speed, but sensitive to temperature changes.
- Direct Drive: Fewer moving parts and ultra-quiet operation.
For smooth and long-lasting performance, match the opener type to your garage door’s weight and your home’s layout.
Step 3: Key Features to Consider During Opener Installation
Modern garage door openers come with advanced features that improve functionality and safety:
- Smartphone Connectivity: Control your door remotely using mobile apps.
- Battery Backup: Keeps your door operational during power outages.
- Motion-Activated Lights: Enhance visibility and security when entering your garage.
- Rolling Code Technology: Protects against code theft by changing the access code after each use.
Installing an opener with these features adds convenience and peace of mind to your garage door installation (opener installation).
Step 4: Ensuring Proper Installation and Safety
Installing a garage door and opener requires precise measurements, alignment, and calibration. Safety sensors must be properly positioned, and the track system must be level. If installed incorrectly, the door may not open or close fully, or worse, it could come off track. A careful, step-by-step installation ensures your system runs smoothly and securely.
Step 5: Maintenance Tips After Installation
Once your garage door and opener are installed, regular maintenance keeps everything in top condition:
- Lubricate moving parts like rollers and hinges every six months.
- Clean and check safety sensors monthly to ensure proper alignment.
- Test the auto-reverse function regularly for safety.
- Keep tracks clean and free from debris or obstructions.
These simple habits can extend the life of your system and reduce the need for repairs.
Final Thoughts
Whether you’re upgrading an outdated system or installing a garage door for a new home, planning ahead makes all the difference. Choosing the right materials, opener type, and smart features can transform your garage into a secure, functional, and modern entry point. A high-quality garage door installation (opener installation) ensures daily peace of mind and lasting value for your home.

